The trap will be built mostly from sheet plastic. Concern number one is trying to keep the weight down a bit, because I will be wearing it one my head most of the time. The second one is making sure it stays on without wobbling too much.
The pictures aren't taken in chronological order, so you'll see pictures of painted parts before I'm talking about painting.
Materials
- 4 mm tick styrene sheet plastic
- Liquid nails (or any similar kind of construction glue)
- Clamps
- Heat gun
- Dremel
- Saw
- Sandpaper
- Balsa wood
- Bolts and nuts
- Foamcore board
- Acrylic paint
- PVC tube
- A piece of thin steel cable
- Screw eyes
- Hose wrapped in steel mesh
- Styrofoam slab, 3cm thick
- Hot wire cutter
- Dark fabric (old T-shirt)
Getting started
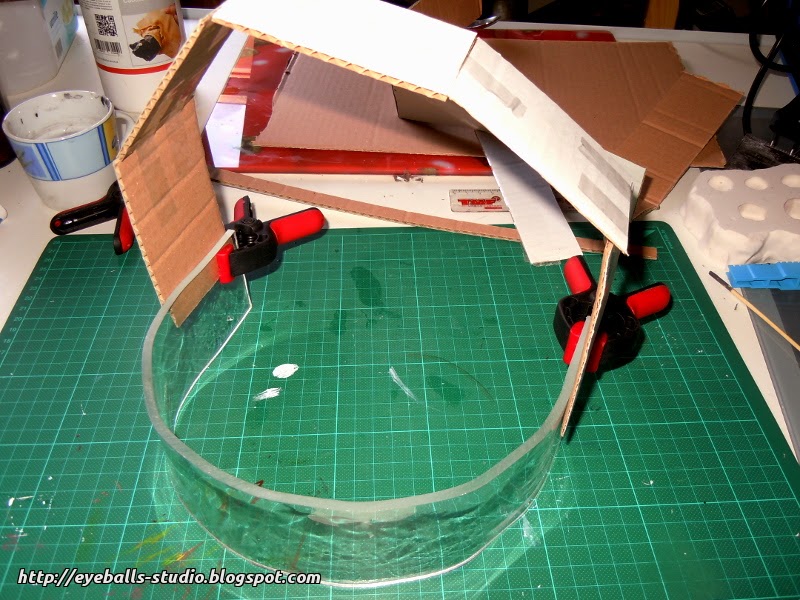
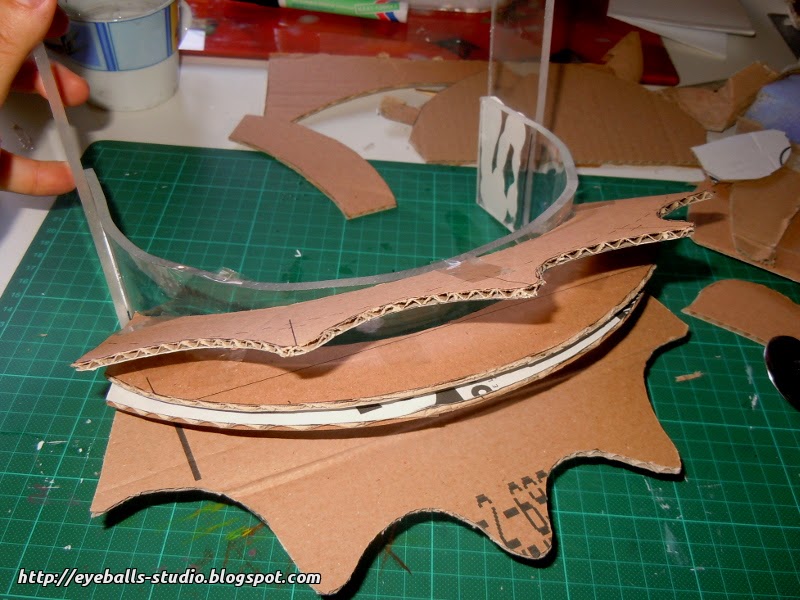
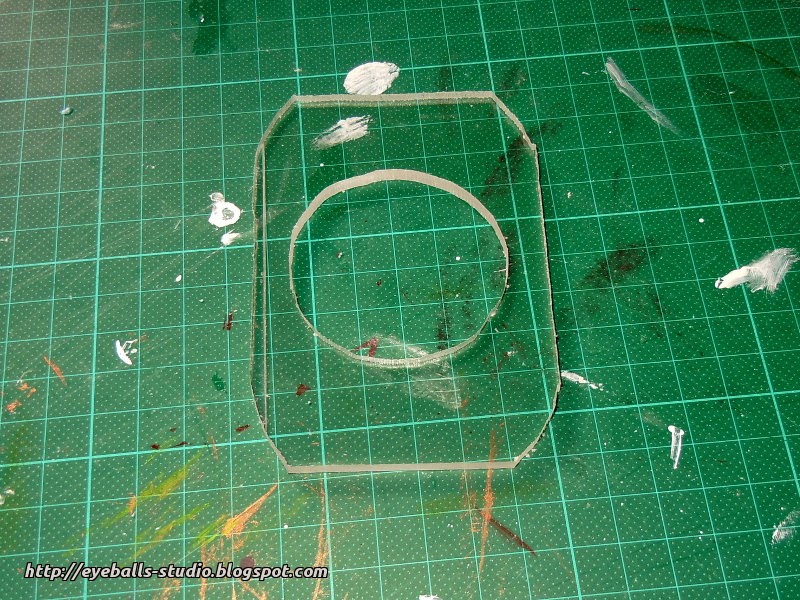
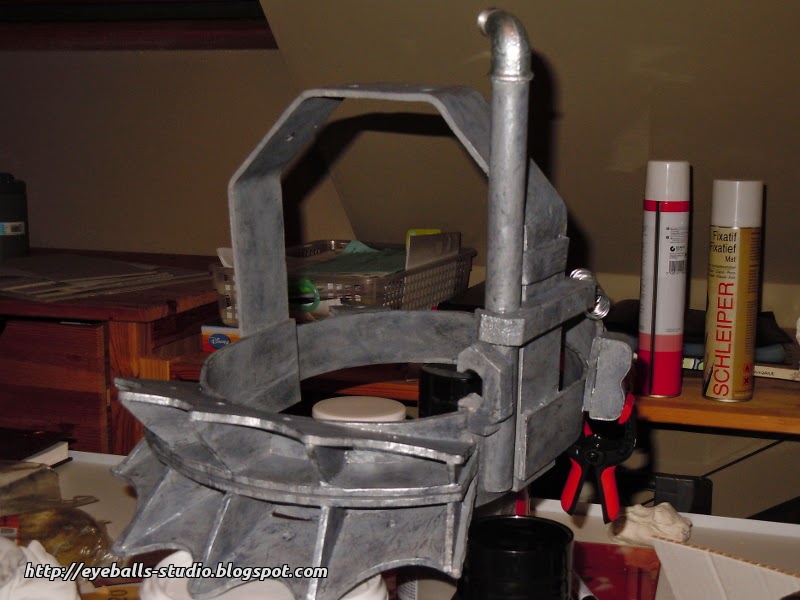
This is gonna be quite a bit of work, so I'll try to keep this a bit in a logical order. The very first thing I had to do was create the outer frame. This consists of a brace over my head, and a brace that goes around my head, in front of my mouth. This will serve as the mounting for all other components, so this needs to be strong!
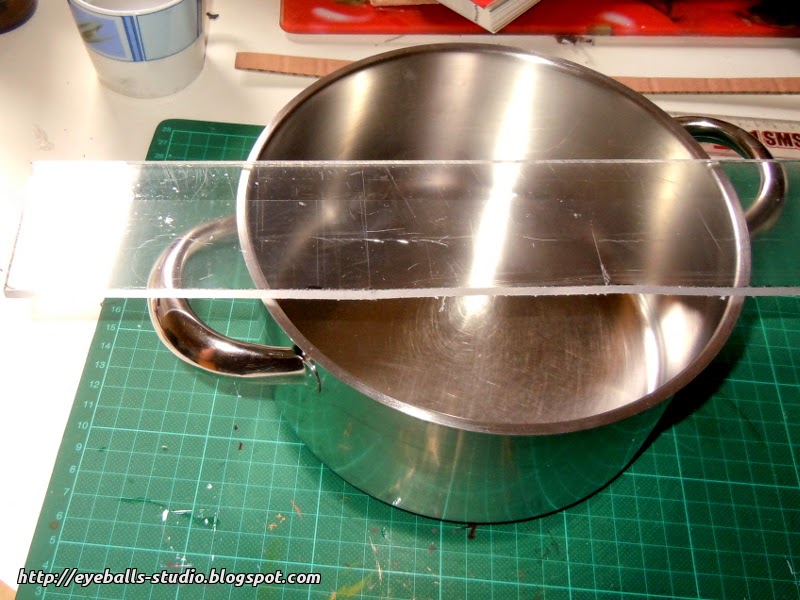
I made a cardboard mockup first to get an idea of the measurements. When I was satisfied with this, I transferred the cardboard segments to a sheet of plastic. Using a figure saw I cut the pieces from the sheet. These needed to be bent into the correct shape. To do that, I heated them using a heat gun until the plastic became soft and bendable.
Two pieces needed to be bent into a 180° circle, so they could wrap around my head. I used a cooking pot for the correct diameter. It went pretty ok, the thing you have to watch out for the most is not burning yourself. The third piece had to be bent into a few 45° corners. For this, I used a piece of scrap wood I had lying around, and already was cut at the correct angle. After the pieces were formed, I sanded them (so glue and paint holds better) and then glued them together.


The front
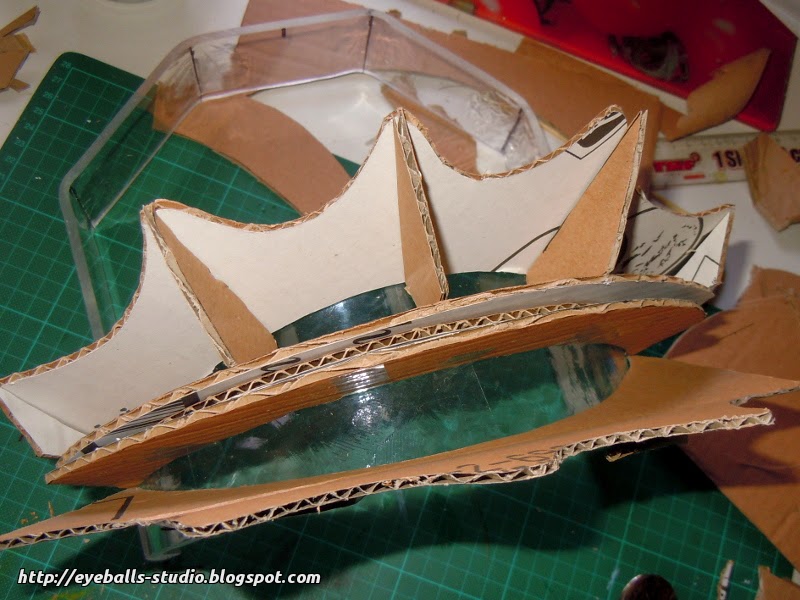
The front part of the trap is perhaps the most recognizable part, so I had to make sure this was right. Again, I made a cardboard mockup first to get an idea of the measurements and dimensions, and then transferred them to plastic. No bending was needed for this, but it did require some precision cutting.


The back
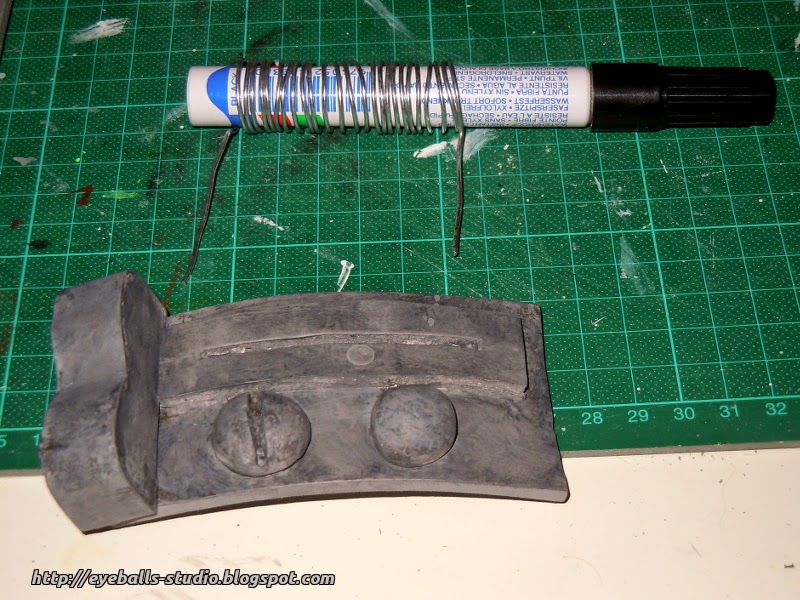
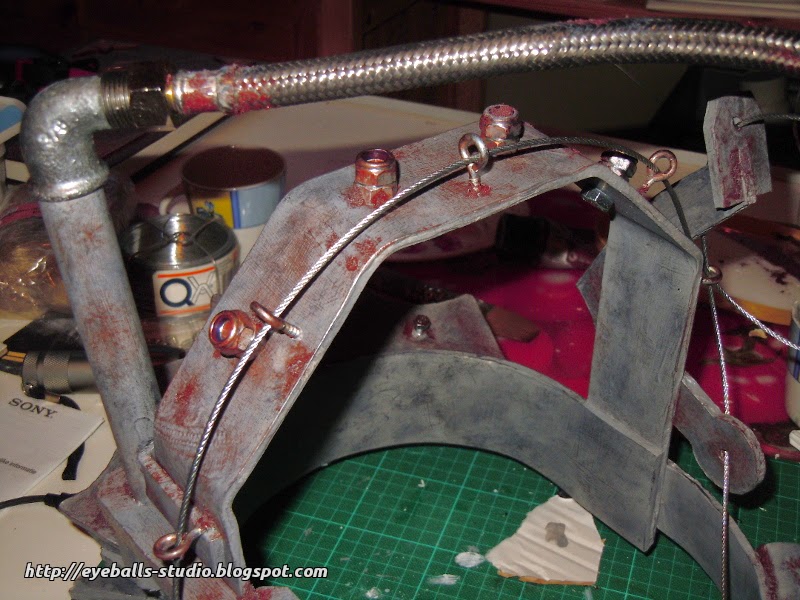
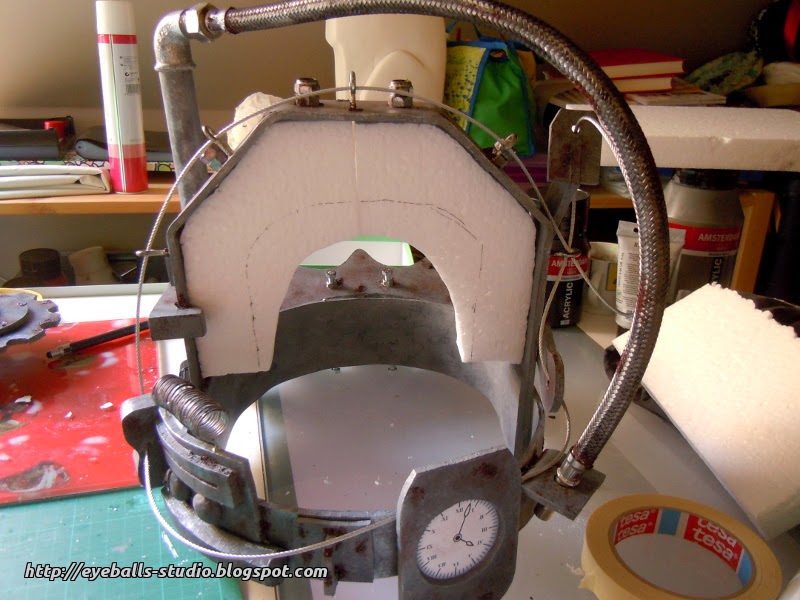
There are a few components attached to the back of the mask. There's a timer, a lock, and a, well, thingy with other things attached to it. Sorry, I can't really describe it. The timer was very easy. Two pieces of plastic glued together, with a circle cut in the front piece, and a printed clock dial glued to it. The thing with the other things is a contraption made from plastic, foam core board, a few pieces of balsa wood and a coil made from steel wire.


The tube assembly
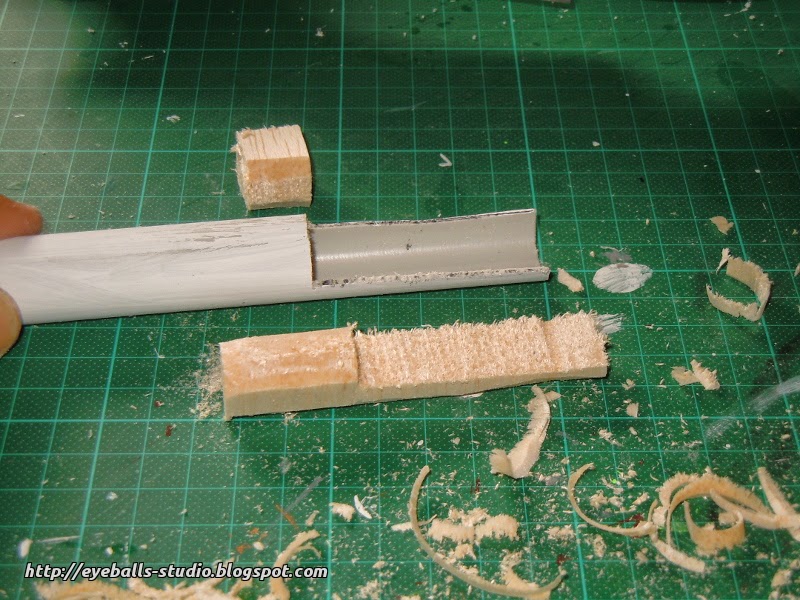
There's some sort of tube and flexible hose running from the side of the mask, over the head and towards the back. To make this, I used a piece of PVC tube, a steel elbow, a hose with steel mesh around it and some balsa wood scraps.
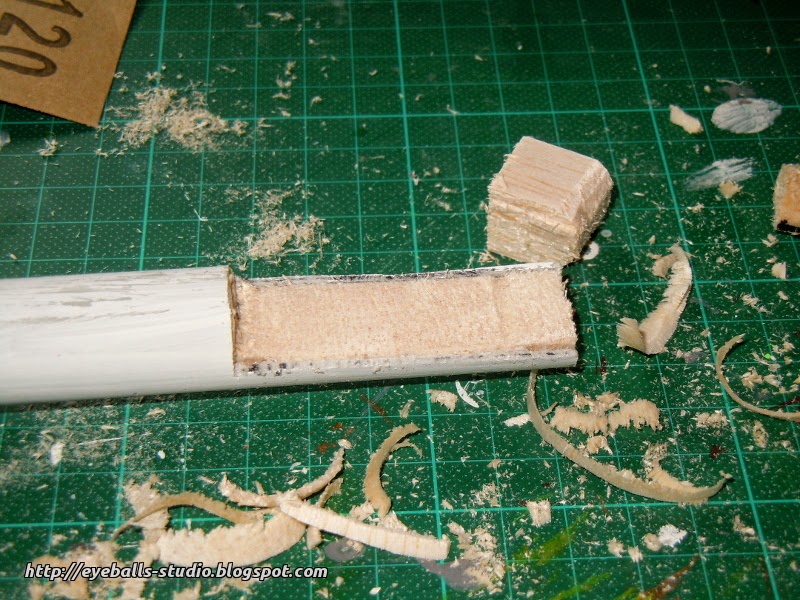
I started with the vertical tube. A short piece of PVC tube, with the bottom few centimeters cut in half lengthwise. The picture shows what I mean. This side had to glued to the mask, and to make it fit nicely I cut a balsa wood plug I could insert into the tube.


The gears and finishing touches
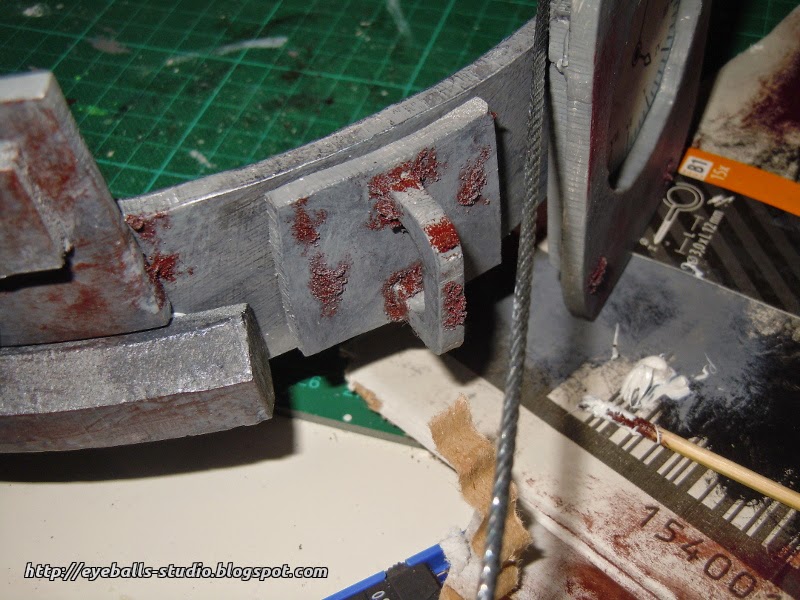
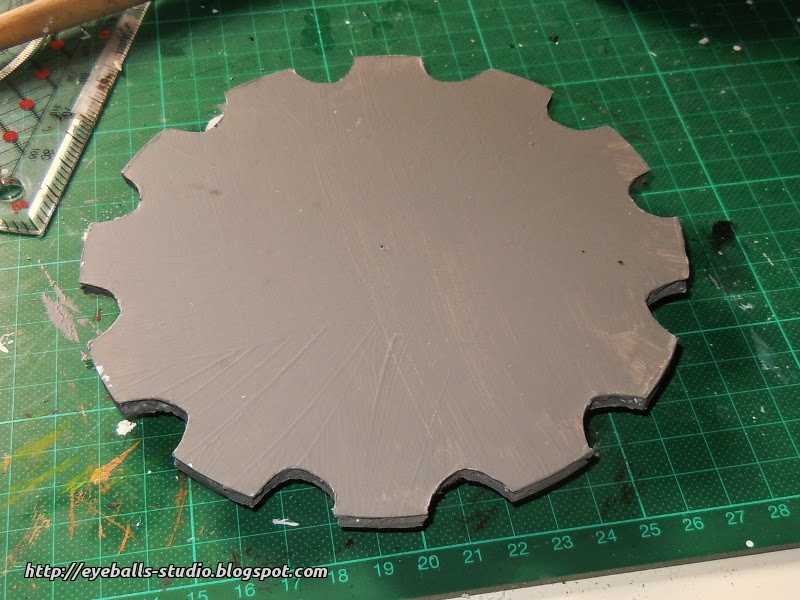
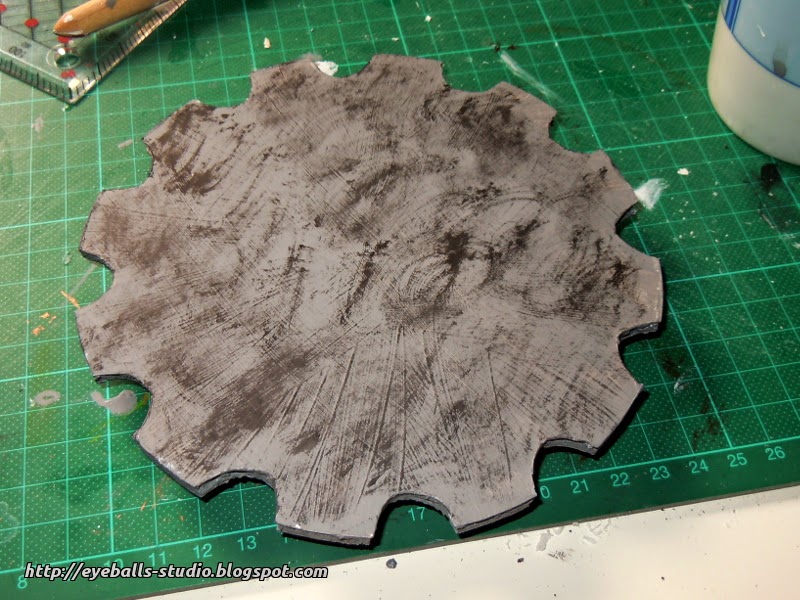
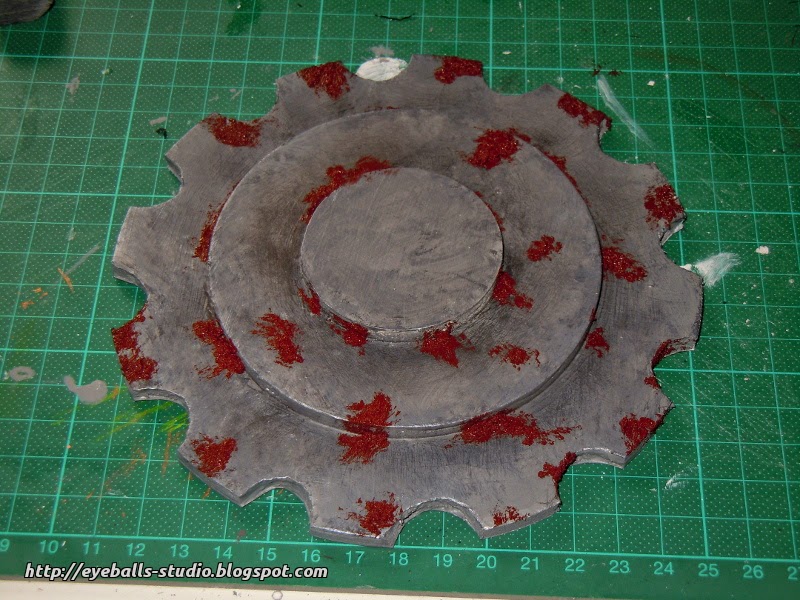
Everyone who has seen the Saw movies knows there are two gears attached to the sides of the mask. I cut these from foam core board. A large circle for the main gear, and two smaller circles that are stacked on top of the gear to give it some extra sturdiness, and make them look a bit less monotonous. I also cut one additional piece out of foam core, a brace that's attached to the right side of the mask. The gears are glued to the mask using a piece of balsa wood as a spacer.


Finally, I added some screw eyes to the head brace and looped a piece of steel cable through it and around the mask.
Here comes the most fun part: painting! I have already shown pictures of painted pieces earlier in this post, so you already know what it looks like. This mask was a great opportunity to try out metal simulation techniques.
Most of the parts first got a coat of acrylic gesso. It never hurts to use some sort of primer, and acrylic gesso sticks well to just about anything.
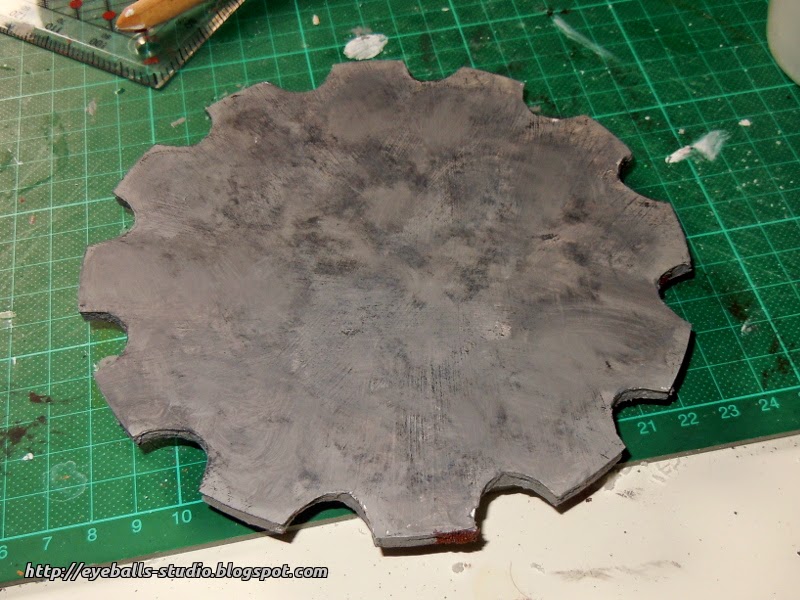
The base color for all parts was a simple gray. To break up the monotonous surface, I drybrushed some black over it when it had dried. The problem now was it looked like I wiped a dirty paintbrush on it. On surfaces with some sort of texture, this problem doesn't occur, but on a smooth surface this looks horrible. To solve this, I painted a very thin coat of my basic gray over it. Just take a tiny bit on your brush and then spread it as thin as possible. This will blur the black spots a bit. The result looks pretty good!
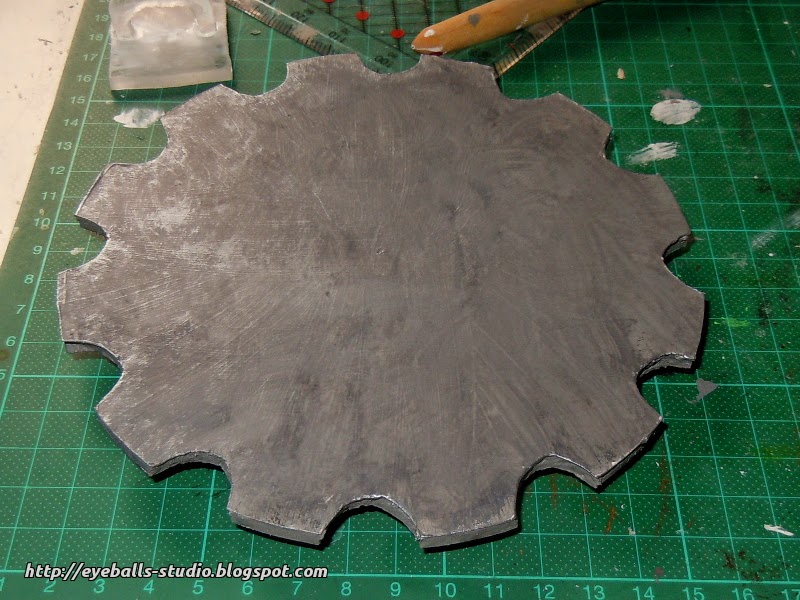
After it had dried, I drybrushed some silver paint over it. This is what really gives it a cool metallic look. The problem I had with the black paint didn't really occur using silver paint.
Next, I mixed some paint with sand and applied the mixture on the rusty spots. Don't try to use a paintbrush for this, it doesn't work. A spatula works best for this. This mixture gives it a nice texture, but it's too brown. To finish it, I drybrushed a tiny bit of gray over it to lighten and break up the brown color a bit.

Making it fit
Now one more thing was needed: making it fit on my head! At this point, it would wobble too much, and the bolts in the top wouldn't exactly make it comfortable. For this, I used strips of styrofoam to make some sort of padding. I first cut it to make it fit nicely, and then coated it with black fabric from an old T-shirt.

The result
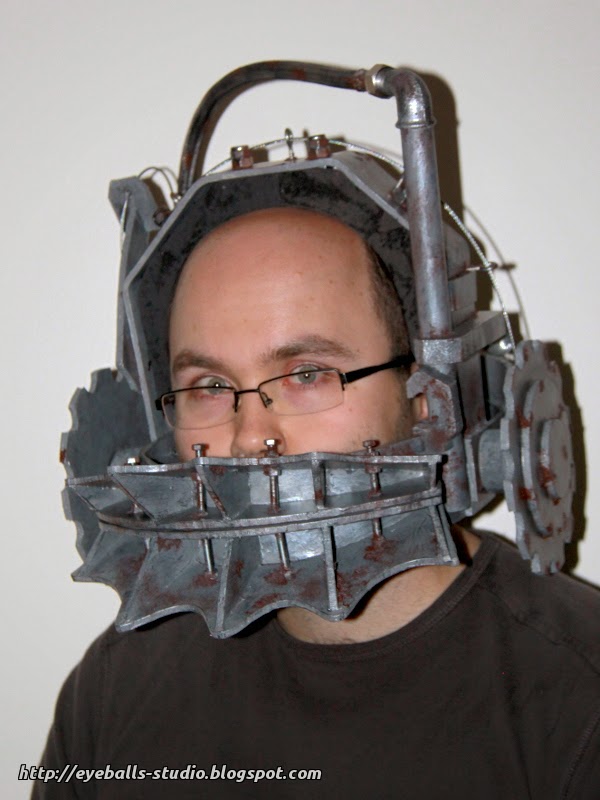
Here's me wearing the mask. It's not too heavy, and balanced quite well. The biggest disadvantage is a huge blind spot in front of me, so I'll have to be careful (I trip a lot)!


0 reacties:
Een reactie posten