This is the first EVA foam weapon I made. It's part of the Dwarven outfit my girlfriend and me are making. Far from finished, but this weapon is a nice start!

Materials
- EVA foam, 1 cm thick mats and 2 mm thick sheets
- Thick walled PVC pipe, 32 mm diameter
- PVC pipe coupler and 2 endcaps
- PVC glue
- 3mm thick MDF sheet
- PU foam
- Contact cement
- Book binding glue
- Acrylic gesso
- Acrylic paints
- Varnish (matte and glossy)
- Plastic primer and lacquer
- (Imitation) leather
Getting started
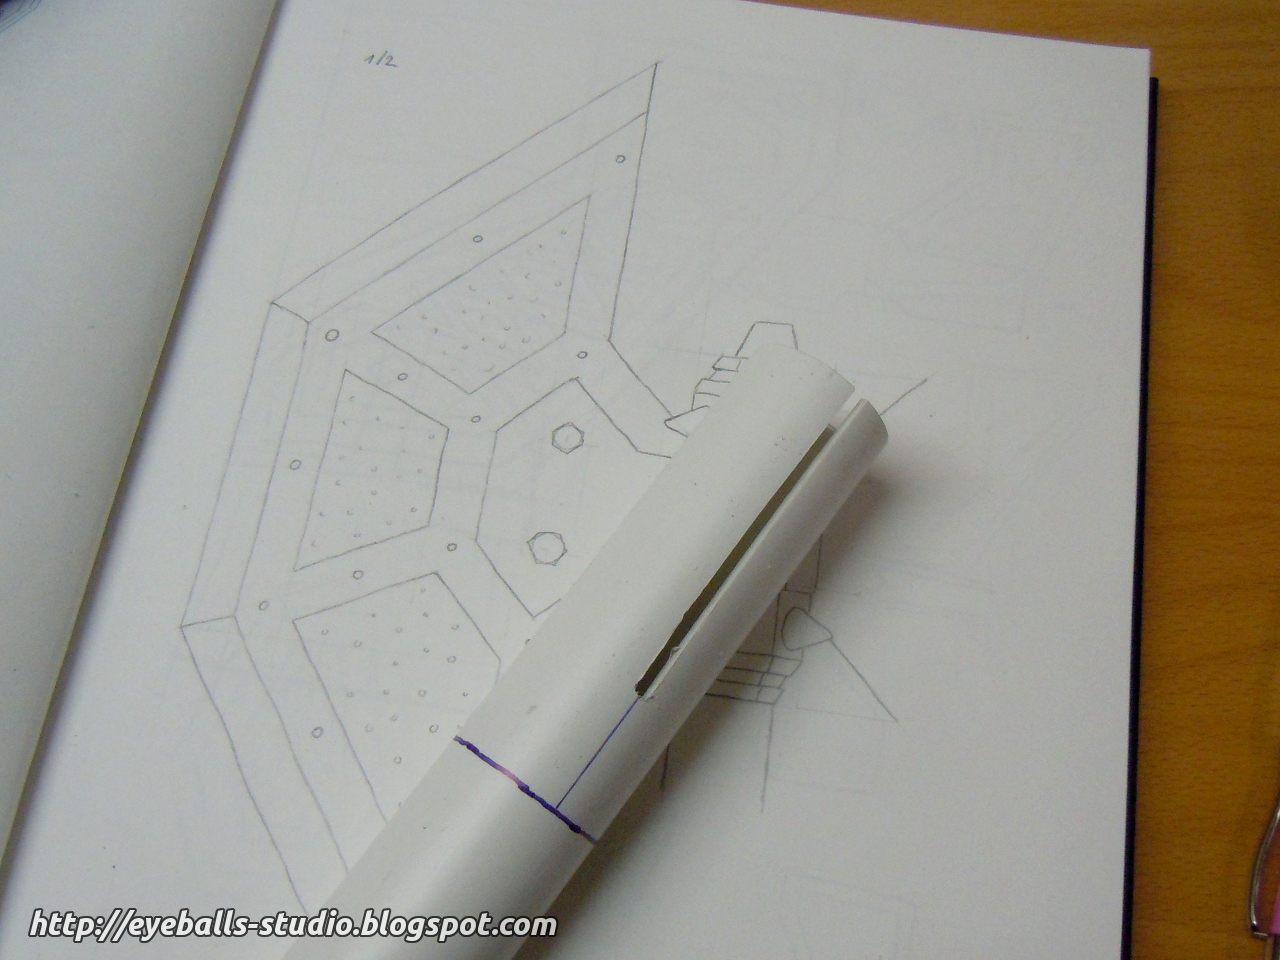
I started by cutting out the shape of the blade from a piece of MDF. This particular piece was the sign I used to sell my appartment last year; I still had it lying around, knowing it would come in handy at some point. The MDF forms the core of the blade, making sure it's rigid enough (an EVA foam blade this size would be too flexible). I kept the lesson learned from my gigantic hammer in mind: don't make it too big!


To attach the blade to the handle (wich will be made from PVC pipe), I cut a short piece of pipe, and using my Dremel, I made two cuts in it. The piece of pipe was glued in the coupler, the blade inserted in the cuts and the other side topped by the endcap, locking the blade in place.

Next, I tried something that, looking back on it, wasn't the best idea I ever had. I sprayed the middle part with PU foam, let it cure, and then cut it into the shape of the center, where the blade attaches to the handle. The idea was to glue thin EVA foam to the PU foam, but the foam contained so many large bubbles and voids it took a lot more effort to get it into a decent shape than I had thought it would.


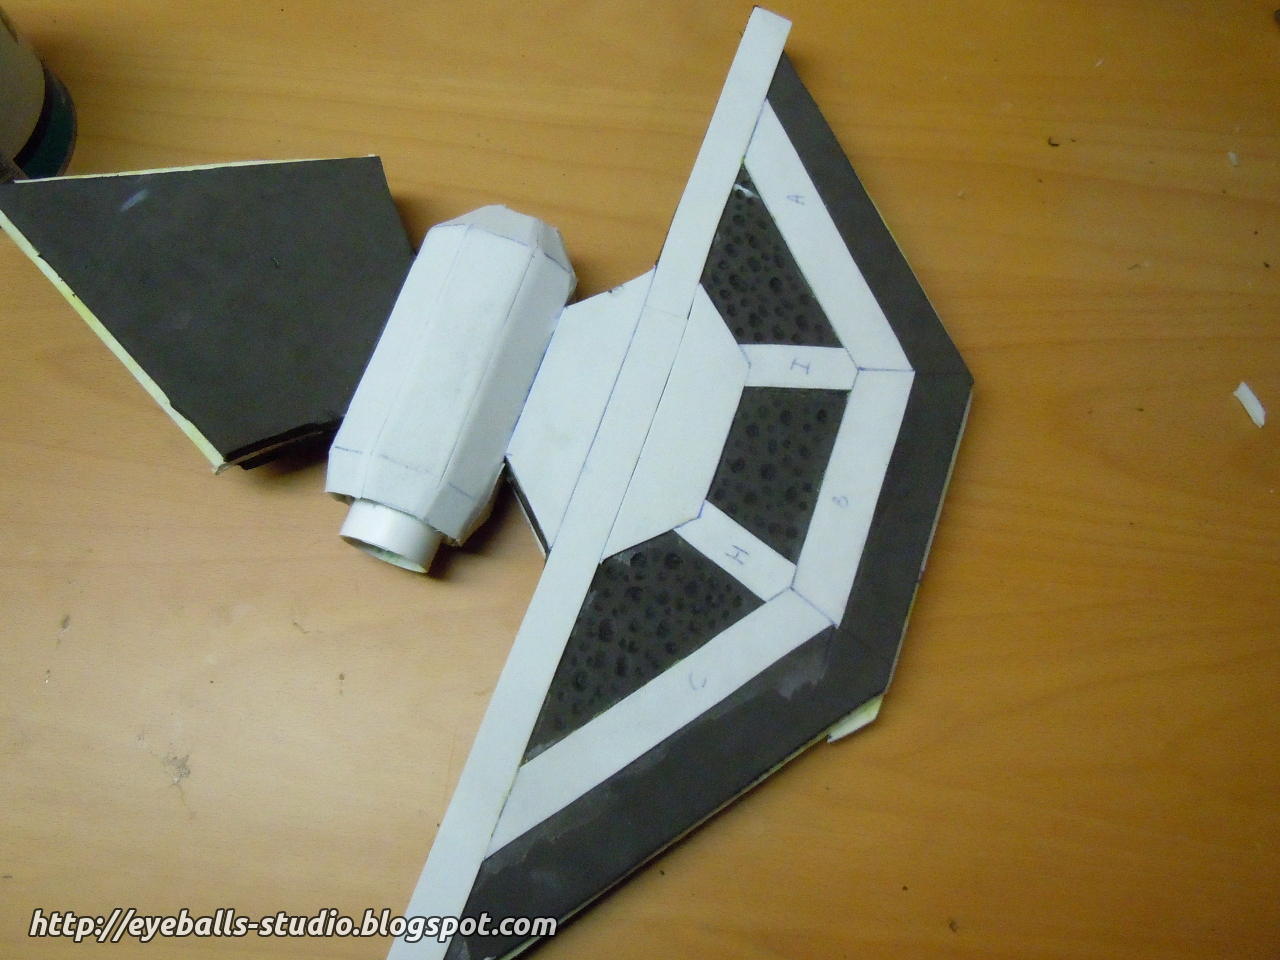


To finish it, I sculpted some bolts, rivets and spikes from foam scraps and glued them on, so I could move on to the next step!
Painting
For the painting, I applied a technique I first came up with when I was building my Dwarven boots. But first, I primed the foam using a mixture of acrylic gesso and book binding glue. For my boots, I used plain gesso as a primer, but it turned out the paint wasn't really abrasion-resistant. I experimented a bit using different materials as a primer, and the gesso-glue mixture turned out to work perfectly. It's very flexible, bonds very well to the foam and takes acrylic paints without problems.
By the way, I know many prop builders use PlastiDip, a spray-on rubber-like coating. I don't use this, first because it's hard to find here in Belgium and second, it's quite expensive. The glue-gesso mixture works perfectly and is much cheaper.
So after the primer had dried, I applied a layer of pure gesso using a cheap sponge. Using a sponge not only prevents brush strokes but also creates an interesting rough texture. Next, I painted the entire blade gray (using acrylic spray paint).


To turn the flat gray into metal, I first applied a wash using a mixture of gray, some black and a bit of burned umber. The color should be a slightly brownish dark gray. I painted this mixture over the entire surface and then took most of it back off using a damp paper towel. This breaks up the even color of the surface. Finally, I first drybrushed some black and then some silver, and voila, heavy metal! I plan to make a video about this technique in the future.


The handle
That's it for the blade, but there's also the handle! My first weapon prop, the gigantic hammer, had a really crappy handle. Thin PVC pipe that was way too flexible, with a sheet of cork wrapped around it. As impressive as I thought it was two years ago, today I think it's a piece of junk!
First of all, I used thick walled pipe this time. It's much more rigid than the thin walled pipe. Not all stores have this type, but it's well worth looking for it. This handle doesn't flex or bend at all! Second, instead of using cork and hoping it would look like wood (it doesn't), I used imitation leather and painted the rest of the handle black.
I started by putting and endcap on one end, and glueing two strips of thick EVA foam around the pipe. The part between the two strips is where the leather goes, the part above it will be painted black. Next, I cut out some circles from the same foam and glued them on. A bit of sanding and shaping with my Dremel turned them into rivets. The foam parts are then painted using the same technique I explained above.


For the leather part, I cut a strip of imitation leather and spiraled it around the handle using contact cement. To conceal the fabric back, I first folded the strip lengthwise first, glueing it to itself. When everything had dried, I glued the handle into the pipe coupler inside the blade and the axe is finished!
The result
Here's the final result. I'm quite happy with it, even though there were some parts that caused me some minor headaches. The handle looks much, much better than the one on my hammer. I'm also happy I kept my girlfriend's advice in mind: don't make it too big!

This weekend, we will be showing off our hard work at Elf Fantasy Fair in Arcen. I'm still working on the finishing touches for some other props (among other, a mace), wich I will be talking about in my next posts. Our Dwarven outfits are still a work in progress, but at least we already got some kick ass weapons!


0 reacties:
Een reactie posten